This shop has been compensated by Collective Bias, Inc. and its advertiser. All opinions are mine alone. #SunsOutSpoonsOut #CollectiveBias
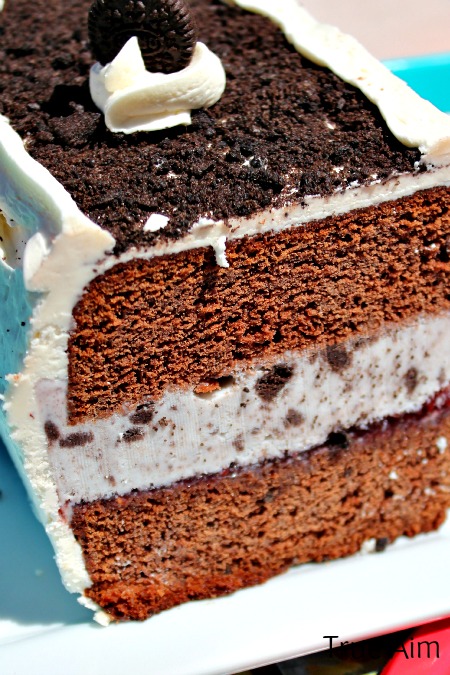
Ice cream is a no-brainer dessert during the hot summer months, but when I want to make it really special, I pull out the stops with my homemade Ice Cream Cake.
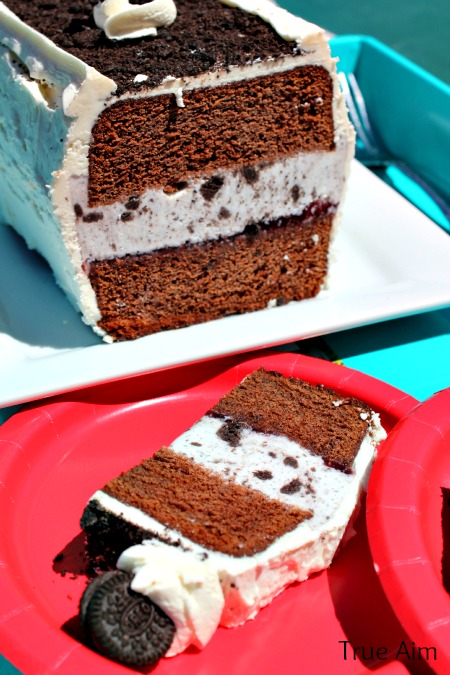
It’s really the best way to eat cake! Guaranteed to bring you HUGE smiles and maybe a giddy squeal or two. No need to get out all the extras to serve ice cream on the side, it’s already there. Just slice and you’re good.
Homemade Ice Cream Cake
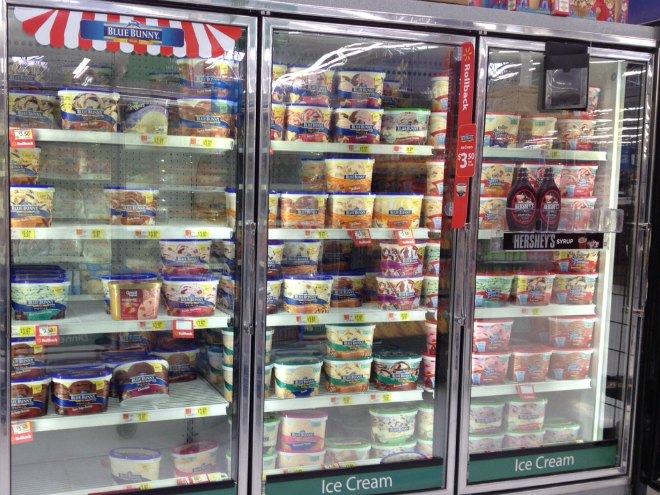
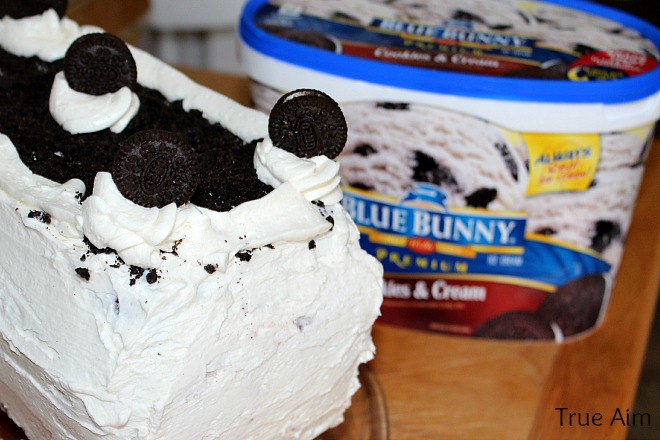
My favorite kind of ice cream to use is Blue Bunny Cookies and Cream. I’ve tried others in the past, but always ended up having to add extra cookies to the ice cream to make it taste right. With the Blue Bunny kind I get at Walmart, I never have to do that.
You can make this recipe into a round cake by doing the exact same steps, but using a round cake pan and cooking the cake for 20 minutes less. But I really like the rectangle shape because it fits so easily in the freezer.
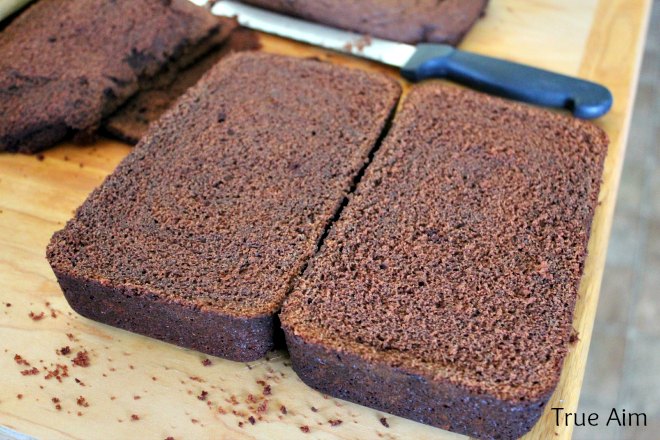
While the cakes cool, I soften the ice cream at room temperature. Then I cut the tops off the cakes and put one in the bottom of my rectangular pan.
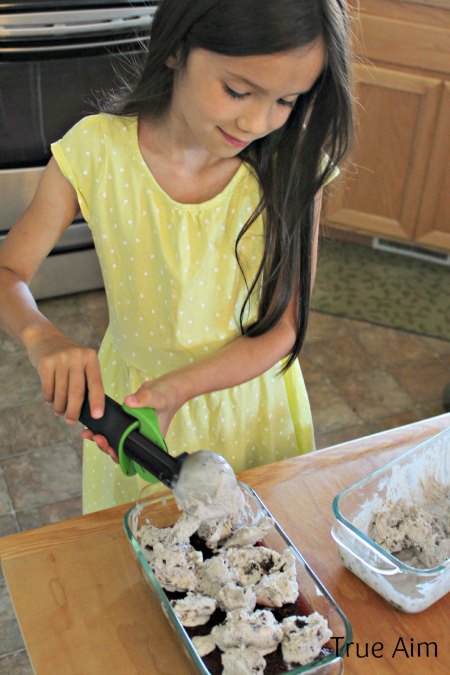
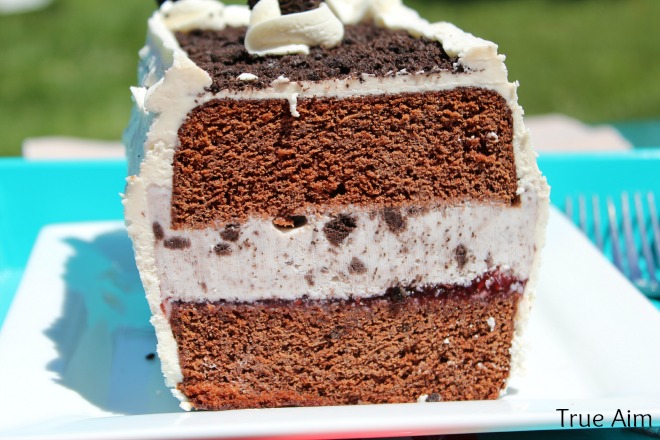
My daughter helps me add raspberry preserves to the cake and then the softened Blue Bunny Ice Cream on top. You can put whatever filling you like. Chocolate syrup is delicious too. On top of that goes the other piece of cake flipped upside down.
I cover it and put it in the freezer for a few hours to harden which makes it easier to put the frosting on. My favorite frosting recipe for this cake is a Vanilla Whipped Buttercream. It is totally optional and you could just top it with a little whipped cream to make it easier. I just like the look and taste the frosting adds.
- 1 cups semi-sweet chocolate chips
- ¾ cup (1½ sticks) butter or margarine
- 1¼ cup granulated sugar
- 4 eggs
- 2 teaspoons pure vanilla extract
- 2¼ cups all-purpose flour
- ¼ cup cocoa powder
- 1 teaspoon baking soda
- ½ teaspoon salt
- 1½ cups milk
- 3 cups Blue Bunny Cookies and Cream Ice Cream
- ¼ cup Raspberry Jam or Chocolate Syrup
- Preheat oven to 350 degrees and prepare bread pans with cooking spray.
- Combine chocolate chips and butter in a microwave safe bowl and melt them together until smooth.
- Mix sugar and chocolate with a mixer until well combined. Add vanilla and eggs 1 at a time and beat until fluffy.
- In a separate bowl, combine flour, cocoa powder, baking soda and salt. Be careful to spoon your flour into your measuring cup and level instead of scooping it directly with the measure cup and compacting the flour.
- Add the dry mix ½ cup at a time to the wet batter and then add in the milk and mix well.
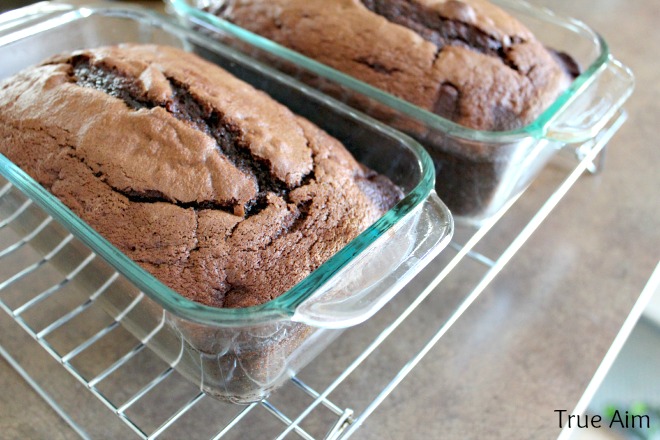
- Pour into prepared pans and bake 45-50 minutes or until a toothpick comes out clean. If using round pans decrease cooking time to 35-40 minutes.
- Cool cake completely while softening Ice cream at room temperature.
- Cut the tops off of your cake making the surfaces level. Grease one of your pans again and return 1 layer of cake to the pan.
- Top with jam or syrup and cover the cake with the softened Ice Cream. Top with second cake layer cut side down.
- Freeze for a few hours or until the ice cream has hardened. Remove your cake from the pan with the help of a knife and put on a serving platter or plate.
- Top with whipped cream or cover with your favorite frosting and freeze until the frosting hardens. Serve with sprinkles or extra cookie crumbles.
The other reason I love Ice Cream cake? Knowing that in the future, my children will always have memories of their Mom’s Ice Cream Cake. The BEST they ever had.
If you’d like to try Blue Bunny Ice Cream for yourself, they are partnering with Chips Ahoy for a yummy in-store demo on the 4th of July at your local Walmart.
Check out even MORE recipes you can make with your favorite Blue Bunny Ice Cream or just follow them on Pinterest! Leave a comment below, which recipe would you like to try and with what flavor?!

Leave a Reply