I’ve always loved the classics, but I had no idea that most versions were abridged! They aren’t the original stories. We’ve been getting back to the originals when I purchased an illustrated version of Wizard of Oz, Wind in the Willows, and Heidi, all unabridged. We tried Wind in the Willows, but my kids just couldn’t understand all of the vocabulary in that one and so they weren’t as interested. However, my eldest daughter picked up Heidi and has been enthralled ever since.
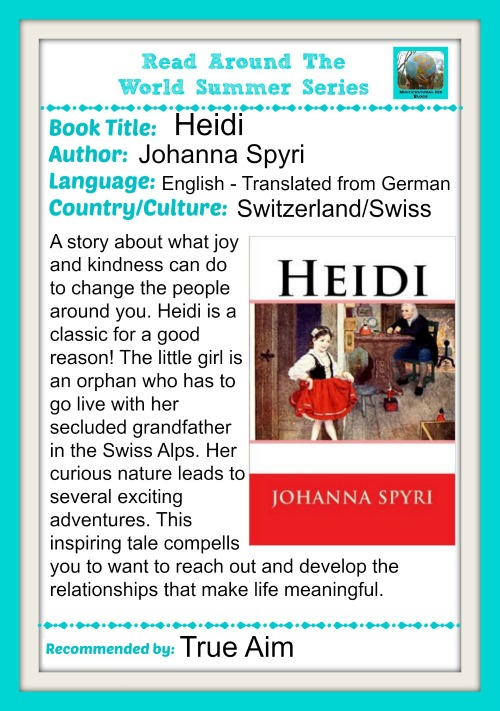
Heidi (affiliate link) is a work of fiction written in 1880 by Swiss author Johanna Spyri, originally published in two parts as Heidi’s years of learning and travel and Heidi makes use of what she has learned. It is a novel about the events in the life of a young girl in her grandfather’s care, in the Swiss Alps. She is an orphan girl who has simple, but exciting mountain adventures! No wonder my daughter likes it. Heidi is one of the best-selling books ever written and is among the best-known works of Swiss literature.
I decided to look up some of the customs and traditions of the Swiss people. They are known for yodeling, cheese, wrestling, woodcarving and decoupage! I thought we would try our own little Swiss art project and made up a decorative template we could trace and make our own decoupage!
Decoupage for Kids
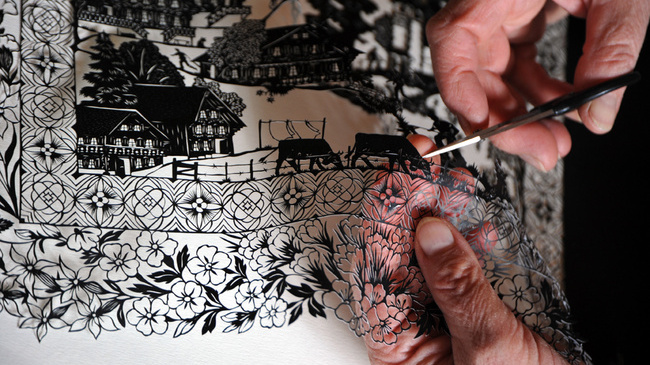
The picture below is an example of traditional Swiss Decoupage. As you can see, it is very intricate. Popular themes are black and white, cattle driving or Swiss scenery with floral and heart motifs. There is even a Swiss association called Friends of Decoupage!
For our decoupage, I made a simple template with birds and a flower. If you have older children, I have also made some templates with more intricate designs. You could also try making your own. A lot of artists will fold their paper in half and make the design, cut it out and open the fold so they have a mirrored symmetrical design.
The supplies we used in this craft were a cutting board, cardboard, craft paper, template, tape, a knife or push pin, a hole punch and some string.
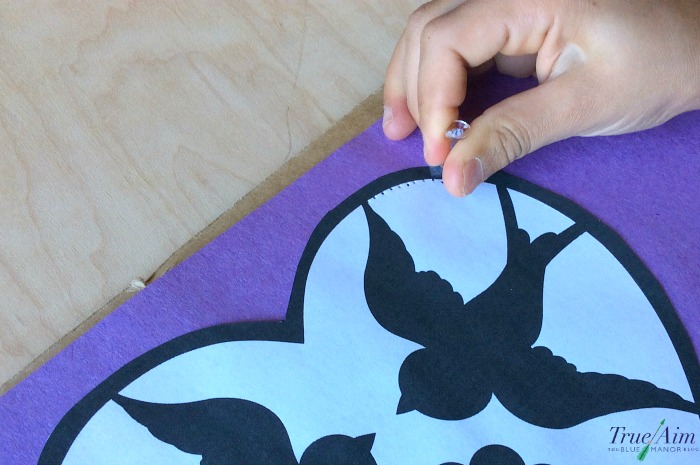
We put the cardboard on a cutting board just in case we cut through the cardboard. After cutting out the template, we taped it on our craft paper and then started cutting with the knife. You’ll want to supervise your children very carefully so they are not putting their fingers in front of the knife and holding it correctly.
If you are worried, you can give them a push pin and have them poke small holes around the design instead. Then they can leave it the way it is, with just pin pricks in the paper showing the design, or they can cut it away with scissors.
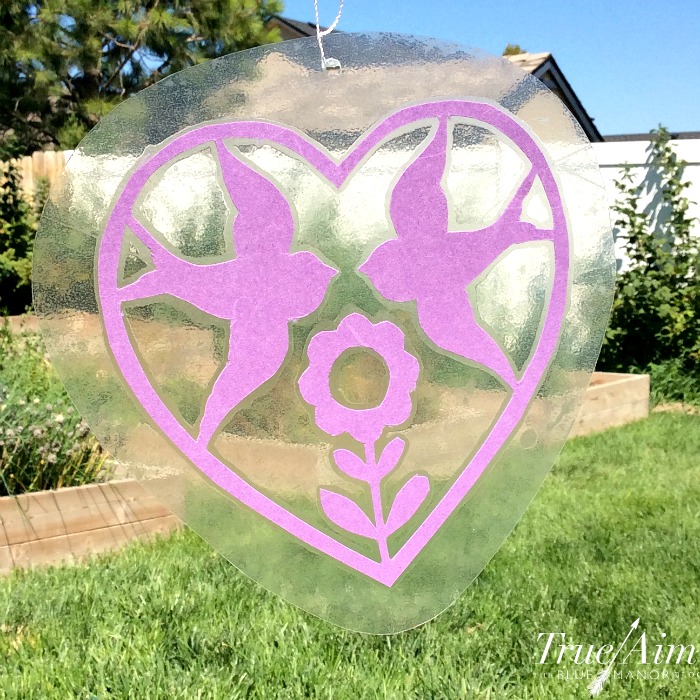
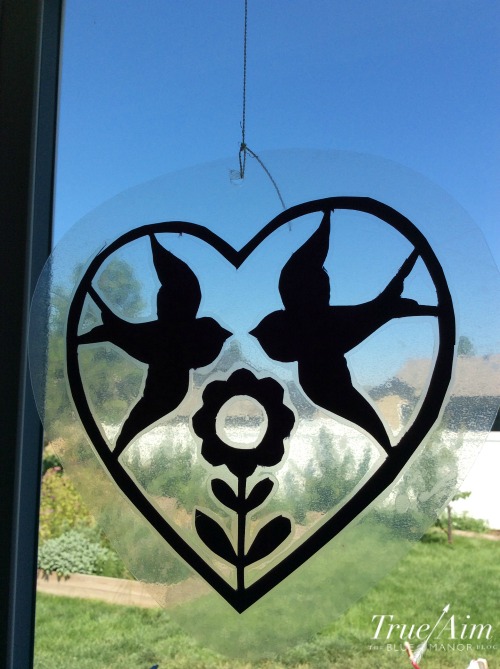
We laminated ours with some clear adhesive paper and then hole punched the top to make a sun catcher.


Leave a Reply