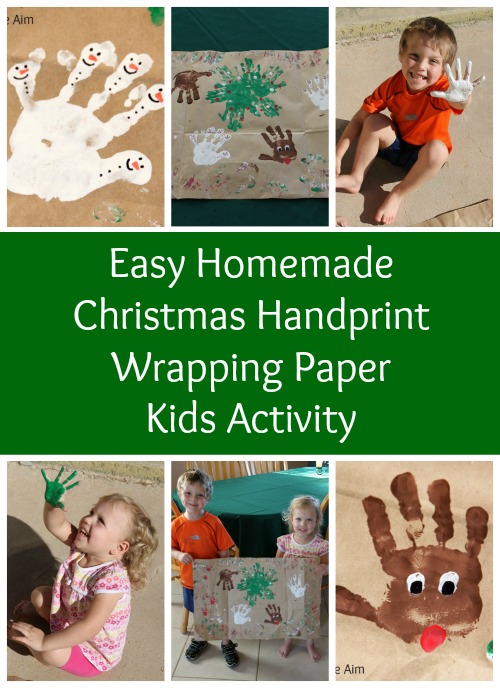
Nothing makes a loving grandparent’s face light up like a homemade gift from their grand kids. Well, what about the wrapping paper? Can that become a blessing to cherish, too? Absolutely!
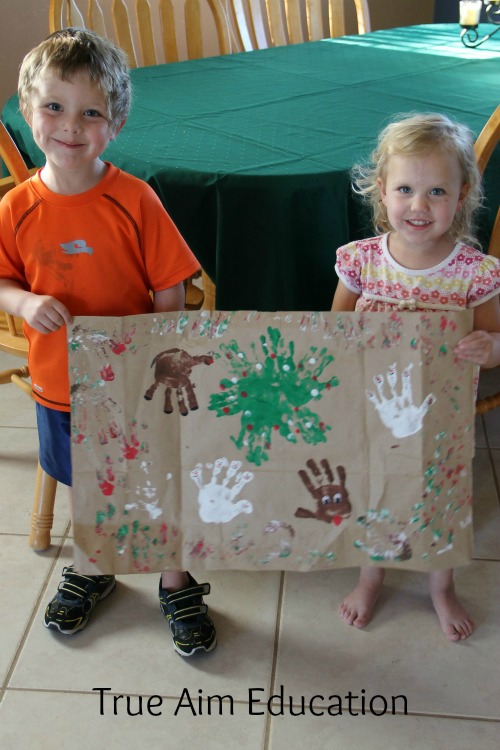
I wanted to come up with something personal and inexpensive for the kids to wrap their gifts in for their grandmas and grandpas this year. The kids had so much fun making this Christmas handprint wrapping paper using recycled brown paper bags and paint, and now they can’t wait to give away their gifts!
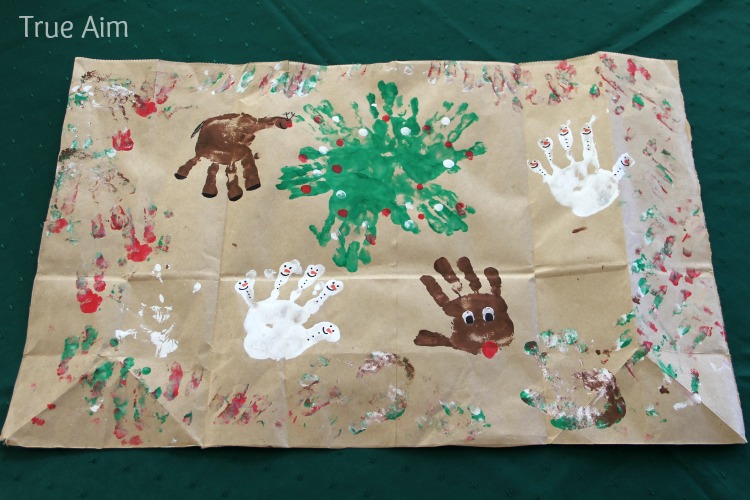
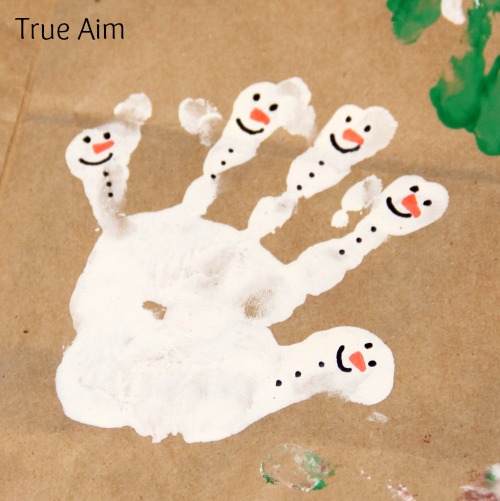
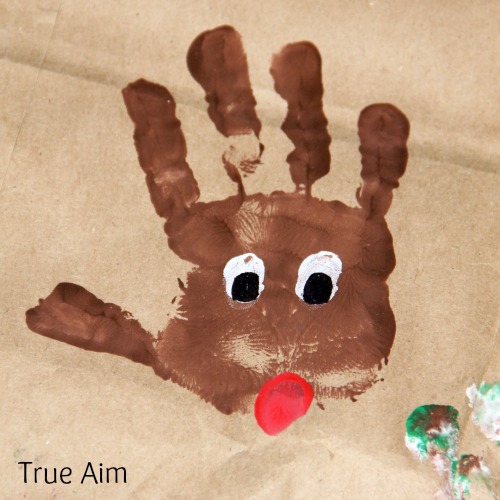
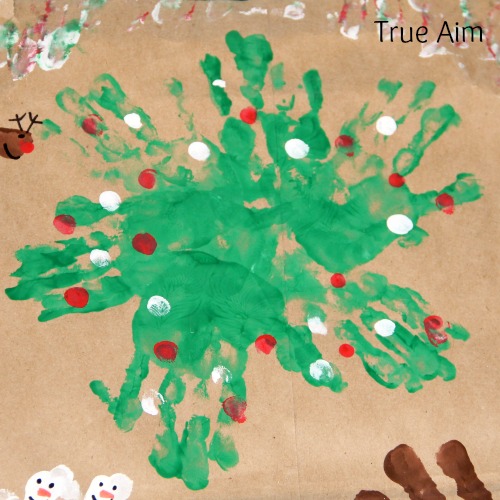
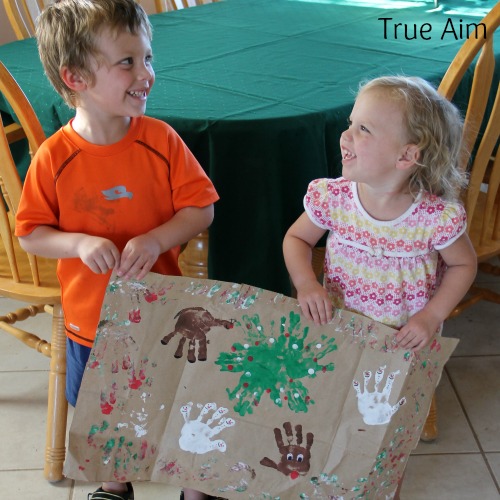
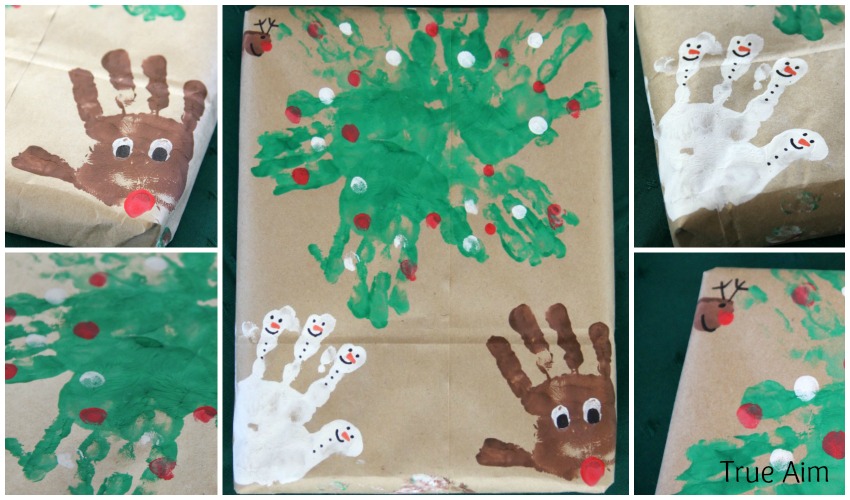
The kids created handprint snowmen and two different Rudolph the Red-Nosed Reindeer, as well as the wreath blob that my sweet daughter so diligently painted and decorated.
As a warning to Moms and Dads, you are going to have to stifle that feeling of control that wells up within you as you watch your children try to paint their Christmas creations. It is never going to look perfect or how you anticipated, so just let it go now and save yourselves the frustration. 🙂
Take notice of the border that was added by my son as an afterthought around the outside of our bag using all of the leftover paint! That being said, here is what we did.
Christmas Handprint Wrapping Paper
Here is what you’ll need:
- Brown paper bags
- Scissors
- Paper or Styrofoam plates
- Plastic spoons (optional)
- Washable paint or Finger paint – green, red, brown, and white
- Permanent Markers – black and orange
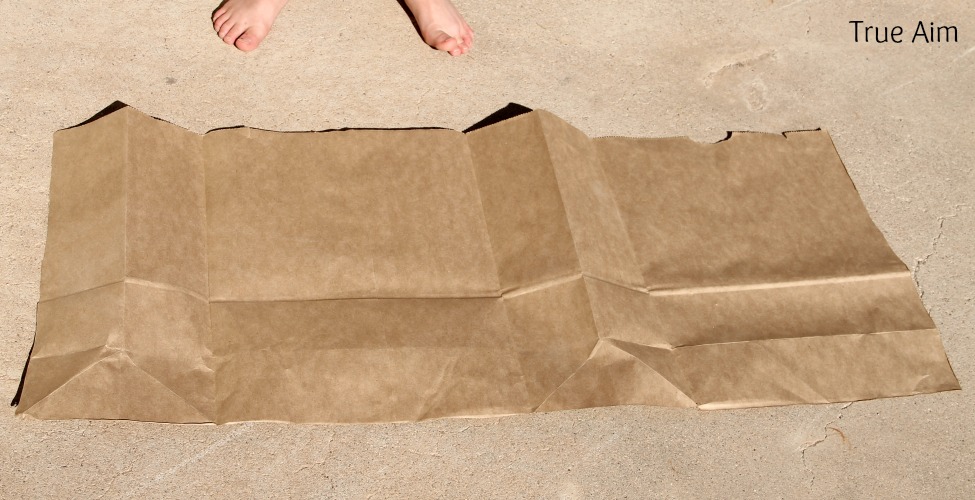
First, take your paper bags and cut them so that they lay open and flat. I cut mine down one long side from the top to the bottom corner, and then around the bottom of the bag. (I found that the bottom was unusable as wrapping paper because it had too many pieces to it.) Don’t worry if your paper bags have writing on them because you can just use the inside as the canvas. It will look something like this:
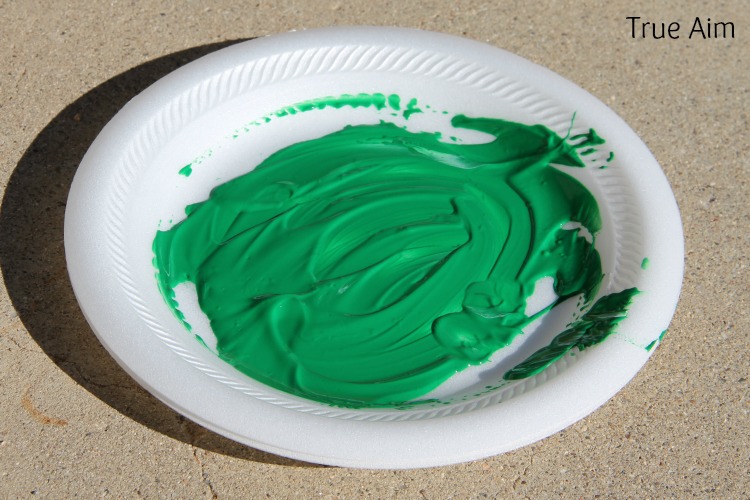
Then, I squeezed some washable paint onto a Styrofoam plate and spread it around with a plastic spoon so that it was fairly thin and spread out enough for the kids to get paint on their entire palm and fingers. I only squeezed out whichever color we’d be using right away because the paint tended to dry quickly when spread thin like that. (Spreading it thin is definitely the trick to non-goopy finger paintings that dry quickly!)
Now the fun part! We used white handprints to create snowmen, brown handprints to make Rudolph, and green handprints to form a wreath. For the snowmen, I used black and orange permanent markers to add eyes, a carrot nose, a mouth, and three buttons to each one.
For the standing Rudolph, I used black permanent marker to add antlers (I didn’t have brown markers), eyes, a mouth, a tail, and hooves. Then, a child’s pinky was the perfect size for a red fingerprint nose. Apparently, this Rudolph was female and pregnant.
For the other Rudolph, we made eyes using two white fingerprints and some black permanent marker, and then we made a nose with one red thumbprint.
For the wreath that was supposed to have an open center, my daughter just kept making a circle with her fingers always pointed toward the outside. Then, it was decorated with red and white fingerprints.
Finally, my son added some mixed color handprints at the end, so we ran with it and made a border around their creations using whatever paint they wanted that was left over.
There you have it! The kids certainly had fun and even took some photos that we can give to the grandparents as well.
To make this wrapping paper extra special, be sure to wrap it in such a way that it can be saved. Add the date it was made, and write your children’s names on there. Or, if they are old enough, have them write their names somewhere on it themselves. They could even write notes to their loved ones who are going to receive the gift they wrap instead of buying a card or gift tag.
I hope you enjoy making some good old-fashioned brown paper bag Christmas wrapping paper with your kids. I know they will!
Leave a comment below with any more creative ideas you have for this project and include any photos if you’d like of your children with their precious wrapping paper creations!


Leave a Reply