This quick hair style and DIY accessory tutorial was inspired by a sponsorship from Blueprint Social.
3 Hungry little birds wait outside my door every morning. Now that I’ve added a newborn to the mix I have even less time to get ready. That’s why I love wearing headbands. They make getting ready in the morning a snap.
The only problem with the headbands I had were their drab color. You could tell I had’t been shopping in a while. Since i Love to Create things on my own, I used Tulip Neon Products to add a pop of spring color to my old headbands and I even made a brand new one.
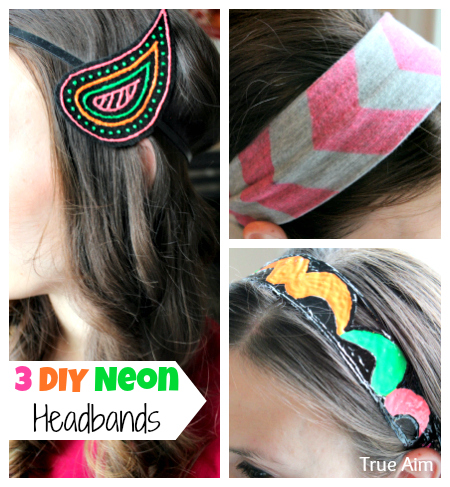
3 DIY Headbands = 3 Different Looks
Chevron Jersey Headband
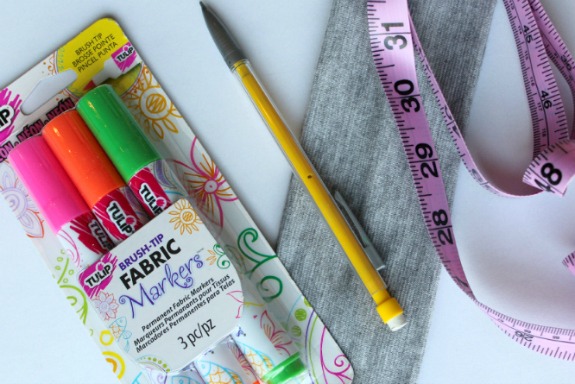
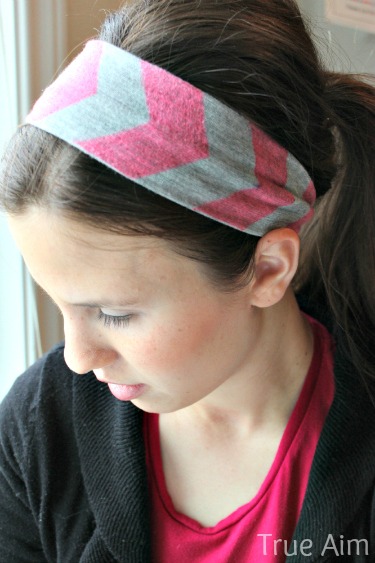
To redo my old gray Jersey Headband, I used Tulip Neon Fabric Markers and some other simple supplies. After the print dried, I applied a second coat to get the brightest color possible.
I love the way it turned out. The print looks like I bought it that way! To get this look, I just teased the hair behind the headband and popped it up into a ponytail.
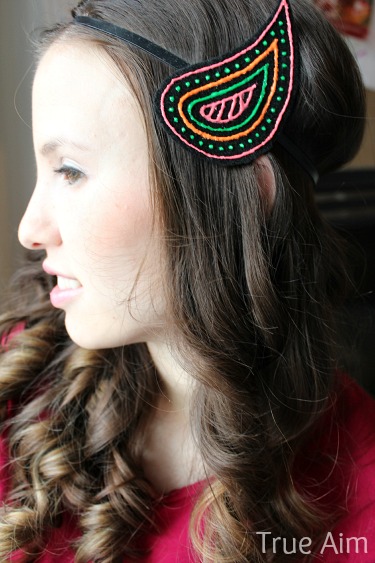
Neon Felt Paisley
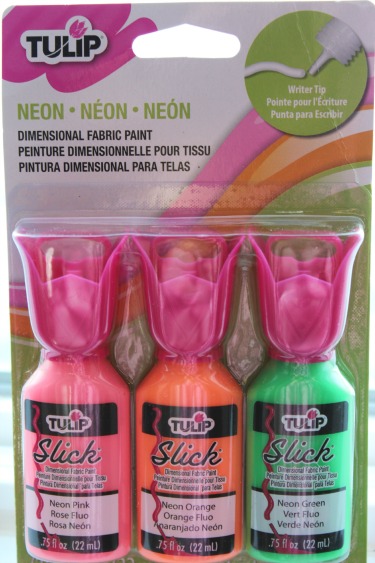
You can do any shape you want, but I think paisleys and neon go together perfectly. For this, I used Tulip Dimensional Fabric Paint, black felt, and a thin plastic headband. You could also use black elastic and sew or hot glue the ends together.
To fasten the felt paisley to the band I simply cut another small piece of felt and sandwiched the headband in between the felt pieces with hot glue.
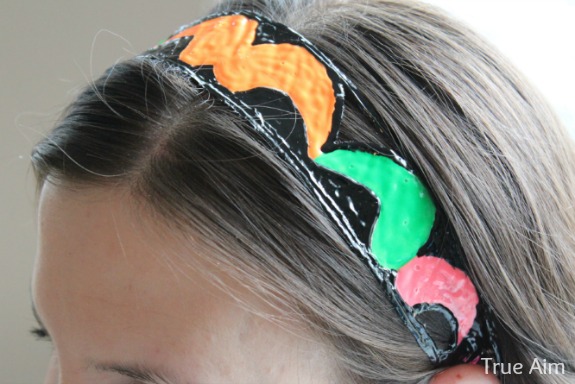
DIY Paisley Headwrap
To make my own headband design, I used the Dimensional Fabric Paint again. First, I measured from behind one ear to the other. Then on wax paper, I drew my design with pen on the non-waxy side leaving little holes on the ends to put elastic through. I flipped the wax paper over and traced my design with a thick coat of the fabric paint.
When I do this again, I’m going to try parchment paper because some of the wax paper stuck to my design when I was taking it off. After I removed my design, I tied thin elastic from one hole in the end of the band to the other.
I also received some Neon One Step Tie Dye Kit and can’t wait to create a Neon Head Wrap with it!
Pick up these exclusive products at your local Michaels Arts & Crafts store. For those folks without a Michaels store in their area, you can order the products at iLoveToCreate.com. iLoveToCreate.com is currently offering free shipping on any neon Tulip product for the month of February when you use coupon code NeonFEB (ends February 28th).
Get Free Shipping on Neon Tulip Products
Use Code NeonFEB
All of these headbands were so easy to make, I can’t wait to make more. Which one would you like to make? Share your answer with iLoveToCreate on Facebook & Twitter!
For more creative DIY projects, follow iLoveToCreate on Pinterest, or check out their Crafty Blog!
For more Neon inspiration, check out the ideas below!
Thanks for reading!

Ooh, I like them all, but I am a HUGE paisley fan!
Heather – dollar store mom recently posted…Tutorial: Easy Neon Stencil Dot Shirt
What great headbands. I think the chevron is my favorite but your felt paisley is pretty sweet too! 🙂
Marilyn Clark recently posted…Denim Star Earrings with Tulip Neon Paint