“This shop is part of a social shopper marketing insight campaign with Pollinate Media Group™ and Kleenex but all my opinions are my own. #pmedia #KleenexTarget http://cmp.ly/3/8vNxcO”
It’s happened to everyone… “Kids, get your coats on. It’s time to go to the park!” The excitement has everyone hurrying out the door, including you.
Arriving at the park at lightning speed, you let out a sigh of relief as the children expend their cooped up energy. It’s going to be a great day until… someone lets out a ferocious sneeze. You grimace and turn your head to look, hoping it wasn’t as bad as it sounded.
But it is.
So, you frantically search your pockets for tissues, then the car, but you’re out of luck. Finally, you give in and do the unthinkable; let your child wipe their nose with the inside of their shirt.
This doesn’t have to happen. My mom always had a box of Kleenex in the car. I try to do the same, but sometimes the car is a long ways away and I need a tissue fast. That’s why I’ve made these cute felt pocket tissue holders to hide in everyone’s coat pockets.

These things are so easy to make that your kids can do it! It took my daughter and I only 30 minutes to make all of these. If you left the button off, it would be even faster.
DIY Pocket Tissue Holder
I first saw this tutorial on Pinterest, but there weren’t any step by step directions so here is what I did.
Materials:
Sheets of Felt, Embroidery Thread (or regular thread doubled up), Scissors, Sewing Needle, Sewing Pins, Buttons (optional), Pinking Sheers (optional), Kleenex Tissues (coupon)
Directions:
Start with a sheet of felt and cut it into a 6″x7″ rectangle.

Fold the short ends into the middle and pin. Your tissue holder should now be about 6″x3″.

Sew a running stitch along the edge leaving at least 1/3″ if you want to finish the sides with pinking sheers. I drew little dots with a sharpie to help us sew in a straight line. The first stitch should be started from the inside out so that the loose string is on the inside.

This project is perfect for beginning sewers. Audrey has little experience, but she did well with this and loved it!
When you are finished sewing, the last stitch should go from the outside in, so there isn’t a loose string.

Turn the holder inside out in the corner to tie a knot at the end of the string. I helped my daughter with this part.

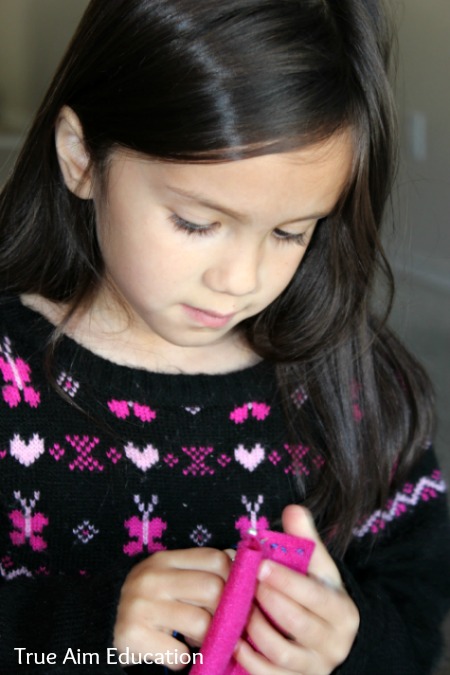
Here’s Audrey’s finished pocket tissue holder that only took her about 7 minutes to make! Add a button for decoration if you like, and trim the edges with pinking sheers.

Now you’re ready to stuff it with Kleenex. But first, grab this Kleenex Coupon from Target for $1 off 4 packs or larger! I always get the kind with lotion so our noses don’t get red and chapped. Then, open the side of the box and fold the Kleenex up to put them into your tissue holders.

Now, hide these little cuties in everyone’s jacket and you’ll always have Kleenex on hand when you need it most.

These also work great for gifts your kids can make! My daughter made the U of O colored one for a friend who is a big Duck fan.

How do you remember to bring Kleenex when you go out? Have a clever way to hide them in the car? Please leave a comment?
For more projects and crafts you can do with your kids, like me on facebook or follow me on Pinterest. Thanks for your support!

this is a good idea..I’m going to try this..:)
Really adorable. Great idea. Great campaign.
Jodi recently posted…Red Sea Craft – AWANA Cubbies Bear Hug #9
Visiting from The Chicken Chick. Cute idea, so handy and useful! I’ve made these using a sewing machine and they are perfect stocking stuffers. Happy December 🙂
Loved your tutorial! I just made one for my mom and it took like 5 minutes! I did a light blue with silver thread and a silver button, can’t wait to give it to her for Christmas! Thanks 🙂
Awesome! She will love it.
Love this for a kids teacher gift project. Thanks
Hope McLeod recently posted…I love the library!!
What a lovely and yet simple idea. I will be making some of these soon. Thanks for the idea.
this diy is great im only 10 years old and i manged to make it 😀 this is a really good diy im gonna make it for my grandma’s b-day
I’m so glad! Thank you Arya! How nice of you to do something so thoughtful for your grandma!
cool I will try this too
Very nice project!