I am so excited to share this cute DIY wood decor project with you. It’s easy, inexpensive, and doesn’t take long at all! Not only that, but it requires no power tools for those of you who would rather not venture there.
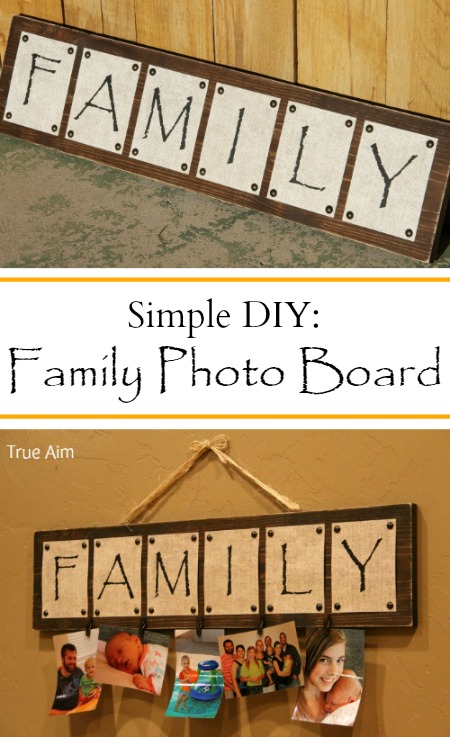
I chose the word “FAMILY” to display across the stained wood because I’m planning to hang photos from an upcoming family photo shoot across the bottom. A free printable is included with those letters, so the tedious computer work of centering is already done for you! This would make a wonderful Christmas gift for so many different people on your list!
This project cost me about $7 to make. You can’t beat that! Here is what you’ll need:
- 1″ x 8″ piece of wood cut to 30″ long
- 120 and 220 grit sand paper
- 2 small clean cloths
- Wood stain of your choice
- 2 sheets of 8.5″ x 11″ decorative paper
- 24 furniture nails
- Hammer
- 5 small clothespins
- Superglue
- Hanging hardware
Without further ado, let’s get started!
DIY Family Photo Board
The cheapest wood to get is a common pine board, and if you buy a 6′ long piece, you can make two signs out of it.
As I mentioned above, you don’t have to use any power tools for this project if you choose not to. I cut a 30″ long piece of 1″ x 8″ wood with my chop saw, but when you purchase your wood at Lowe’s or Home Depot, they can cut the board for you there if you’d like. Easy peasy! This also makes things easier if you are bringing your supplies home in a smaller vehicle or a car full of kids!
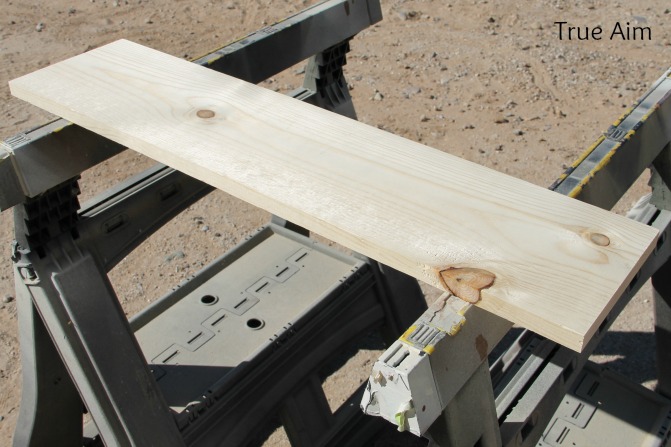
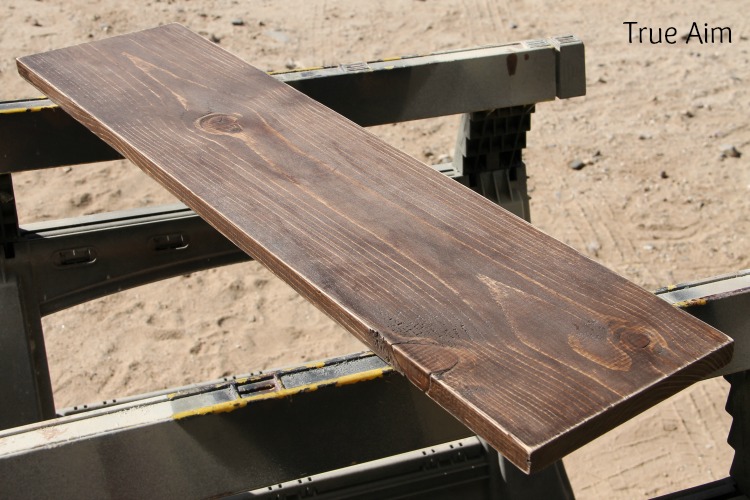
Otherwise, you could also use a hand saw. So, you’ll start with something like this:
Once you have your 30″ board, it’s time to sand it. Use a rough, lower grit sand paper around 120 to smooth down your wood. Then, use a higher grit sand paper around 220 to really get it as smooth as a baby’s bottom and ready for staining.
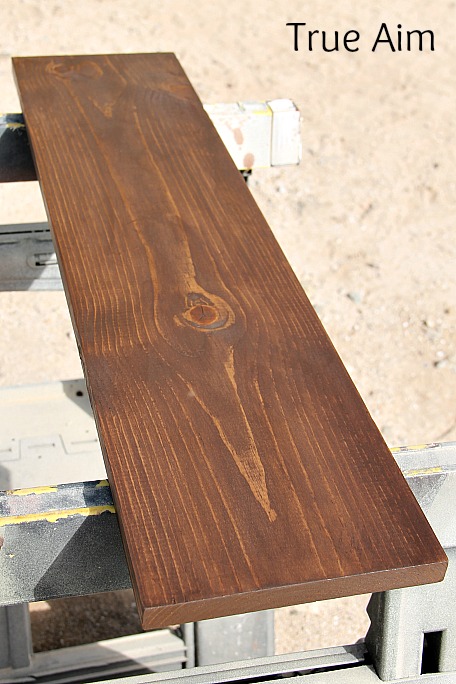
Make sure you don’t forget the sides and always sand in the direction of the wood grain! Wipe off the dust with a clean cloth. Then, shake or stir your can of stain and take the second clean cloth (because you don’t want sanding dust in your stain) and apply the stain generously and evenly, making sure to wipe off any excess. I don’t bother staining the back because no one can see it (and I’m cheap).
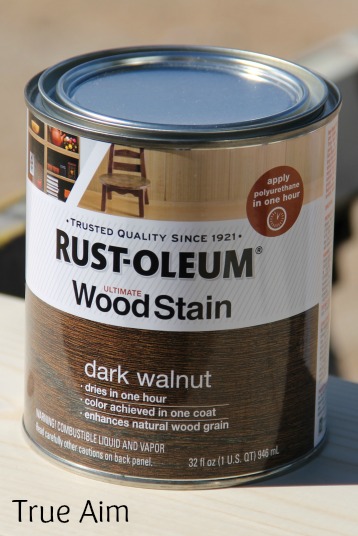
Here is the stain I used in case you would like to use the same color:
While your stain is drying, print out the free printable letters on your decorative paper. I chose paper with a burlap pattern on it to give it a rustic feel. It is probably better to use card stock, but I was not happy with any of the patterns I was seeing at the store, so I used regular patterned paper.
After you download the free family printable, be sure to print it out on regular paper first to make sure that the letters are where you want them before you use your pretty paper!
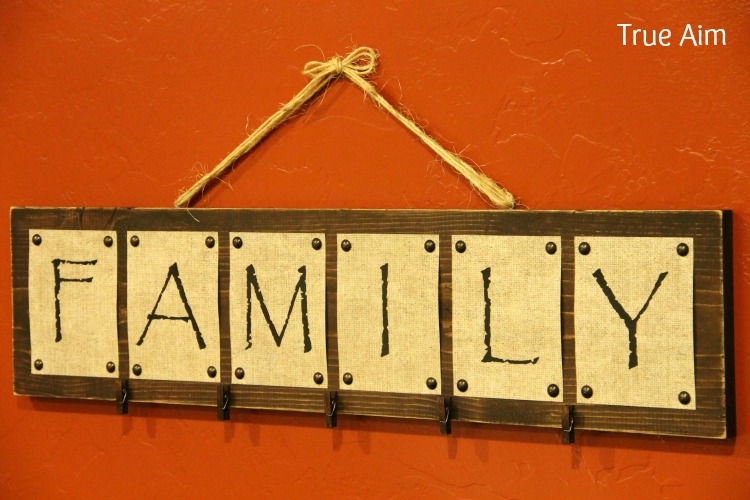
Cut each page in half across the length and width. Once my stain was dry, I took my 120 grit sandpaper and roughed up the wood board a little bit, focusing more on the edges and corners in order to give it an aged look. Give it a quick wipe with a clean cloth. This is how mine turned out:
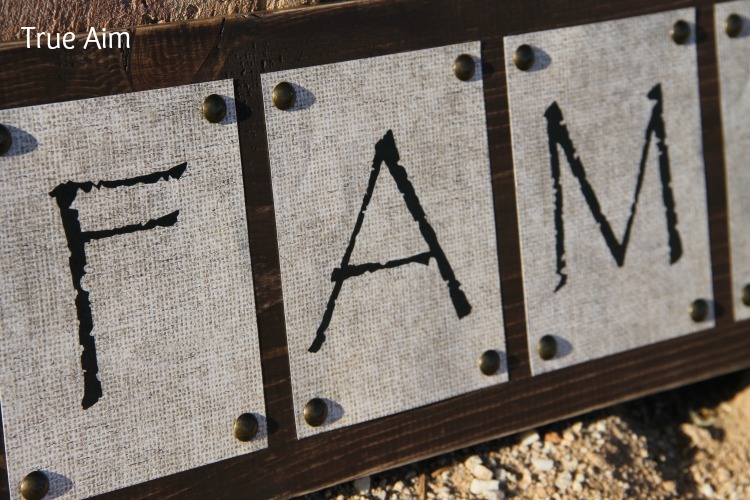
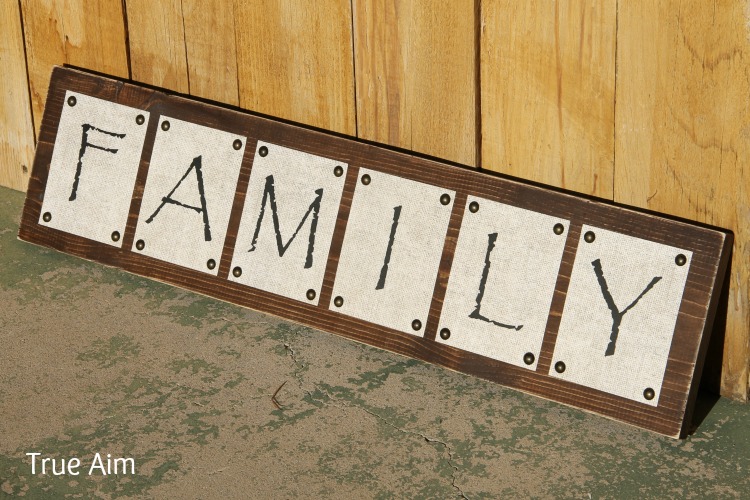
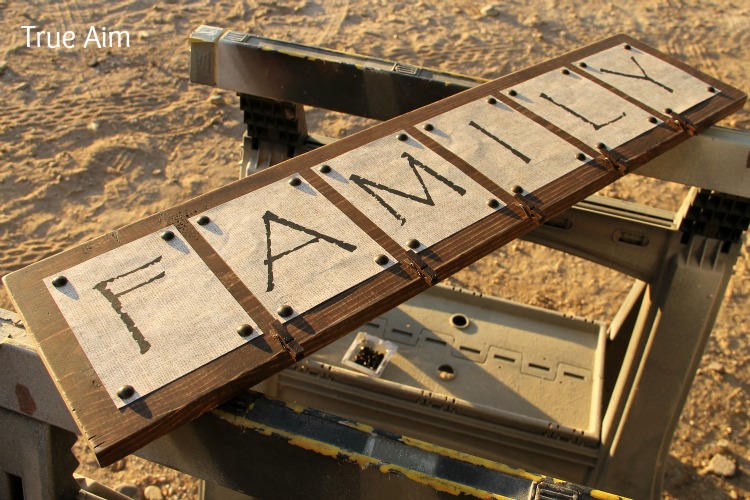
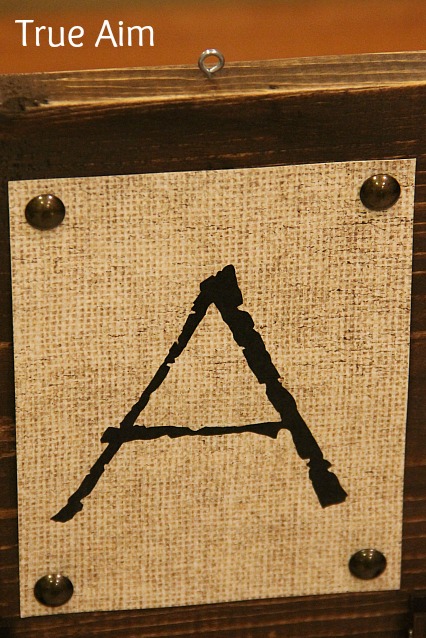
Then, space the letters how you’d like across your wood board and attach them using a furniture nail and hammer in each corner. I started in the center with the middle two letters and worked outward and left a 1/2″ space in between each letter and 1″ on each end of the board. It started to look pretty!
Next, it’s time to add the clothespins across the bottom. You can stain, paint, or leave them plain. Then, just put a little bit of super glue on the back of each one, place it where you’d like, and press firmly for 10-20 seconds. It is better to leave the spot where you will superglue them bare for a better hold, so don’t stain or paint the entire back.
Finally, all that is left is to add some hardware to hang this bad boy. I added 2 small eye screws on the top of the board centered above the “A” and “L” letters. You just need to push them down and turn! Keep screwing them into the wood with your fingers until the circular eye part reaches the top of the wood. No glue, tools, nothing. Super easy.
I strung a couple pieces of twine through the eyes and tied the ends securely together and then in a bow. I doubled it up, and hung it up on a nail on the wall. Done! You could also use sawtooth hangers installed on the back instead of string or rope and the eye screws.
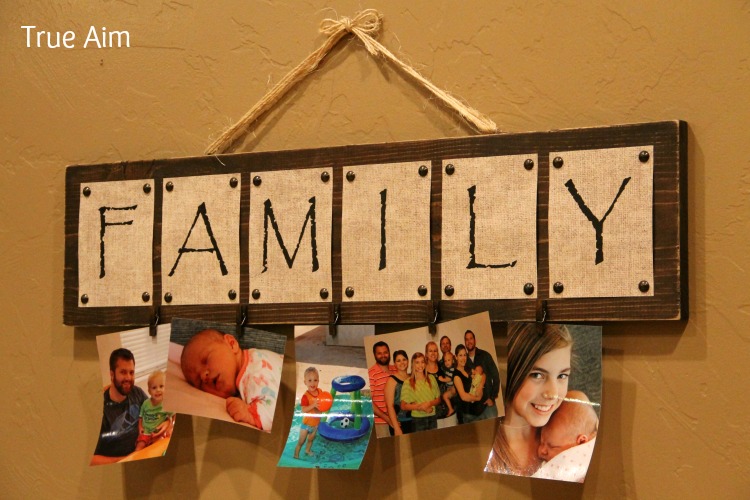
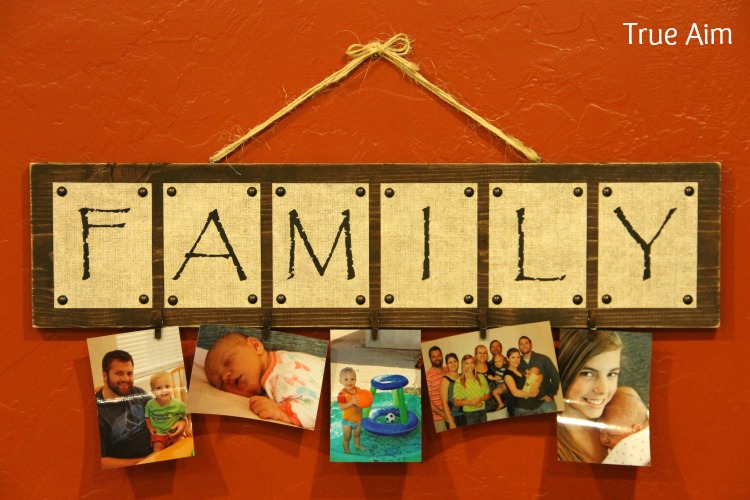
Then, I just needed to add some photos of my cuties!
How adorable is that?! Now, go pick out some beautiful photos for your new wall decor! Or wrap it up as a Christmas gift! Please leave a comment below and let me know what you think!


I am in love with this! Thank you so much for sharing!